
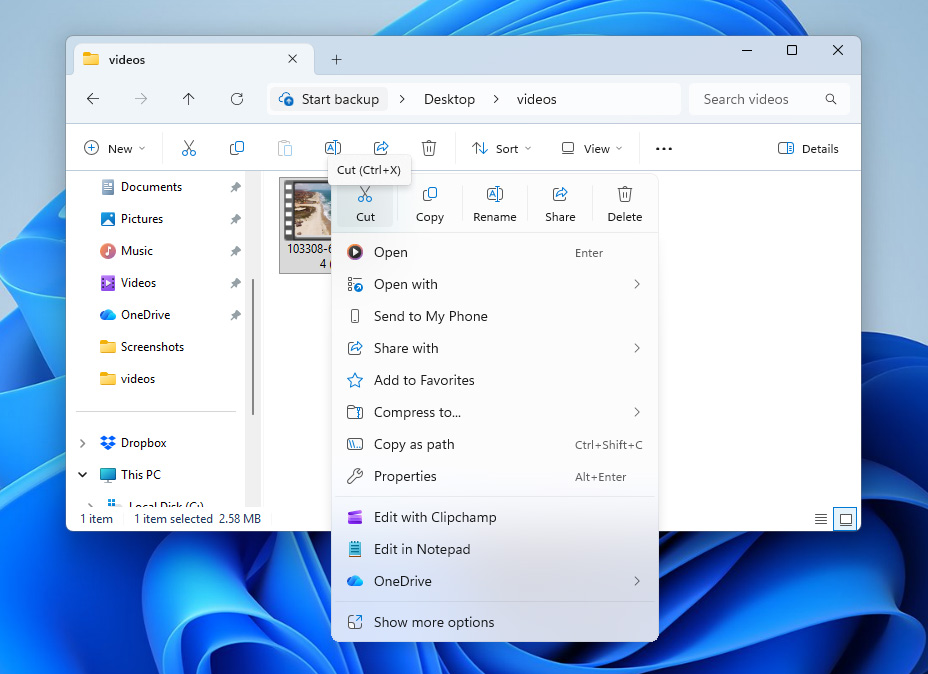
Did you try to move files from one location to another using Cut and Paste, but something went wrong and now the files are missing? Cut, copy, and paste are basic actions in Windows, and it’s hard to imagine file management without them, but even such simple operations can sometimes go wrong and lead to unexpected file loss.
If you’re wondering how to recover cut and paste files on Windows 10 or Windows 11, you’re in the right place. We simulated several scenarios where files were lost during a cut-and-paste operation on Windows computers and tested different methods that can undo the action or help restore the missing files. So keep reading to find out which solutions can help you recover cut files.
What Does Cut Do in Windows?
When you use the Cut command in Windows, the system prepares the file to be moved to another location. What happens next depends on where the file is being moved.
- If the file is pasted within the same drive, Windows usually performs a metadata operation. The system simply updates the file’s path in the file system so it points to the new folder. The data itself does not move on the disk because only the directory entry changes.
- If you cut a file and paste it to a different drive or external device, Windows cannot simply update the path. In this case, the system copies the file to the destination first. Once the transfer finishes successfully, Windows deletes the original file from the source location.
Problems occur when this process is interrupted. For example, File Explorer may crash, the computer may shut down, or the destination device may disconnect. If the interruption happens after the original file is removed but before the new copy is fully written, the file may appear to be missing. In reality, the data often still remains on the source drive until it is overwritten by new information. Because of this, recovery tools or backups may still be able to restore the lost files.
How to Recover Files Lost After Cut and Paste
Now that you’re informed on how the cut command functions, let’s take a look at how to recover files lost during cut and paste.
Before trying any of the methods below, it’s worth checking the original folder where the files were located before the cut operation. If the move process didn’t complete correctly, Windows may automatically return the files to their original location. To be extra sure, you can also use Windows Search to look for the missing files across your system.
Method 1: Restore Cut Files with Data Recovery Software
If the file isn’t present in the original location, it can generally be treated as a deleted file. In most cases, the data that made up that file still remains on the drive for some time and the storage space where the file existed is simply marked as available to the operating system. Until new data is written to that area, data recovery software can scan the drive, locate the remaining file data, and restore it.
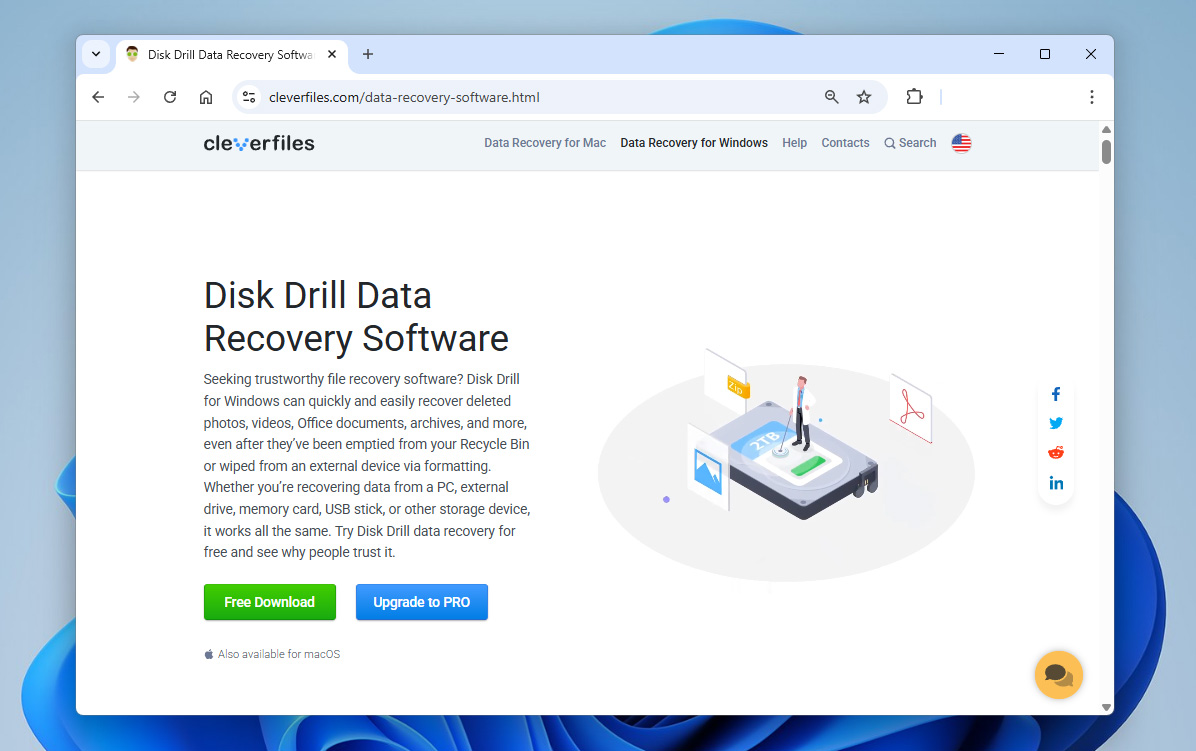
As for the tool that can handle recovery after a failed cut-and-paste operation, we recommend Disk Drill. When we compiled our list of the best data recovery tools, Disk Drill consistently showed strong results both in recovery success and in other areas like ease of use and additional features, which you can learn more about in our Disk Drill review.
For this particular situation, Disk Drill works well because it can recover almost any type of file that may be lost during a cut-and-paste process (documents, photos, videos, and even RAW files from digital cameras). It also includes a convenient file preview feature that lets you identify specific files before recovery, so you don’t have to restore large batches of data and search through the results afterward.
Here’s how to recover cut files from a computer:
- Download and install Disk Drill, but avoid installing it on the same drive from which the files were cut or lost. Installing software on that drive could overwrite the data you’re trying to recover.
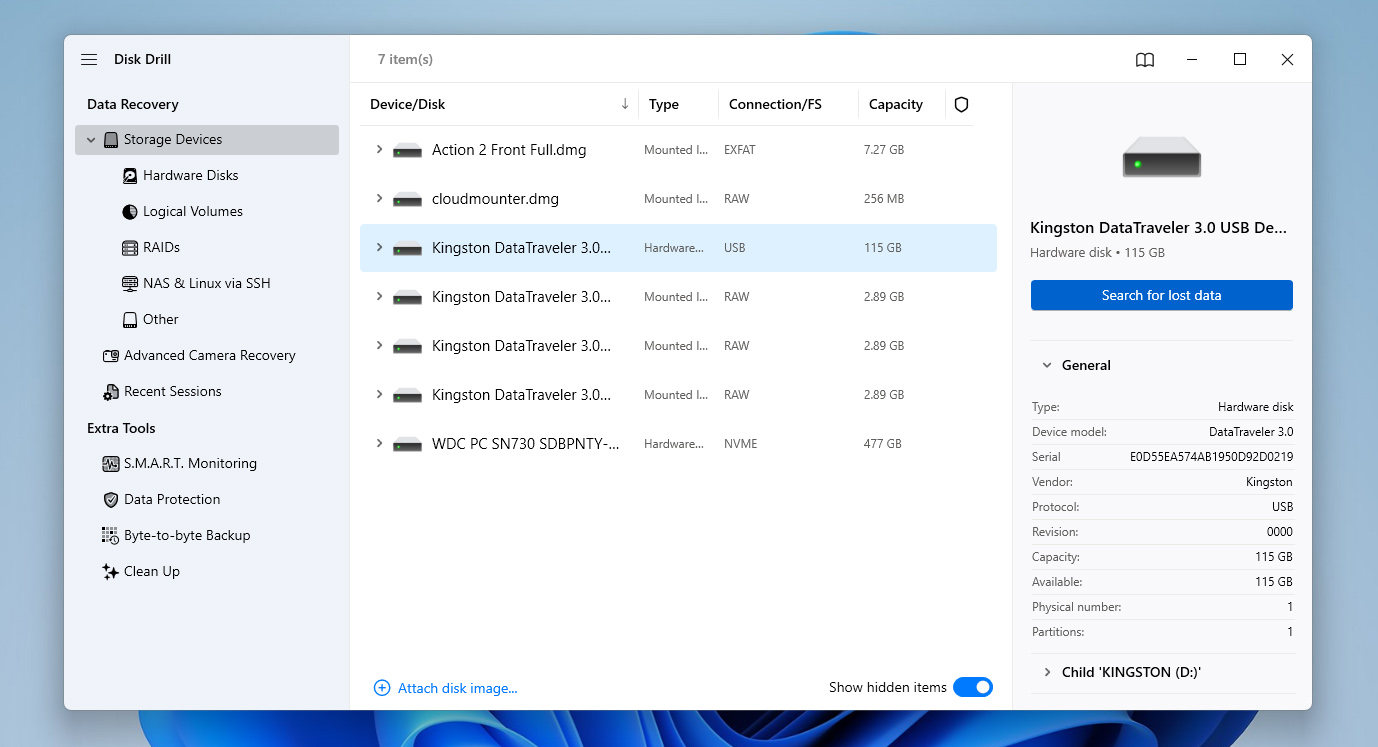
- Once installed, open Disk Drill and select the drive where the files were originally stored before the cut-and-paste operation failed. Click Search for lost data to start scanning the drive for recoverable files.
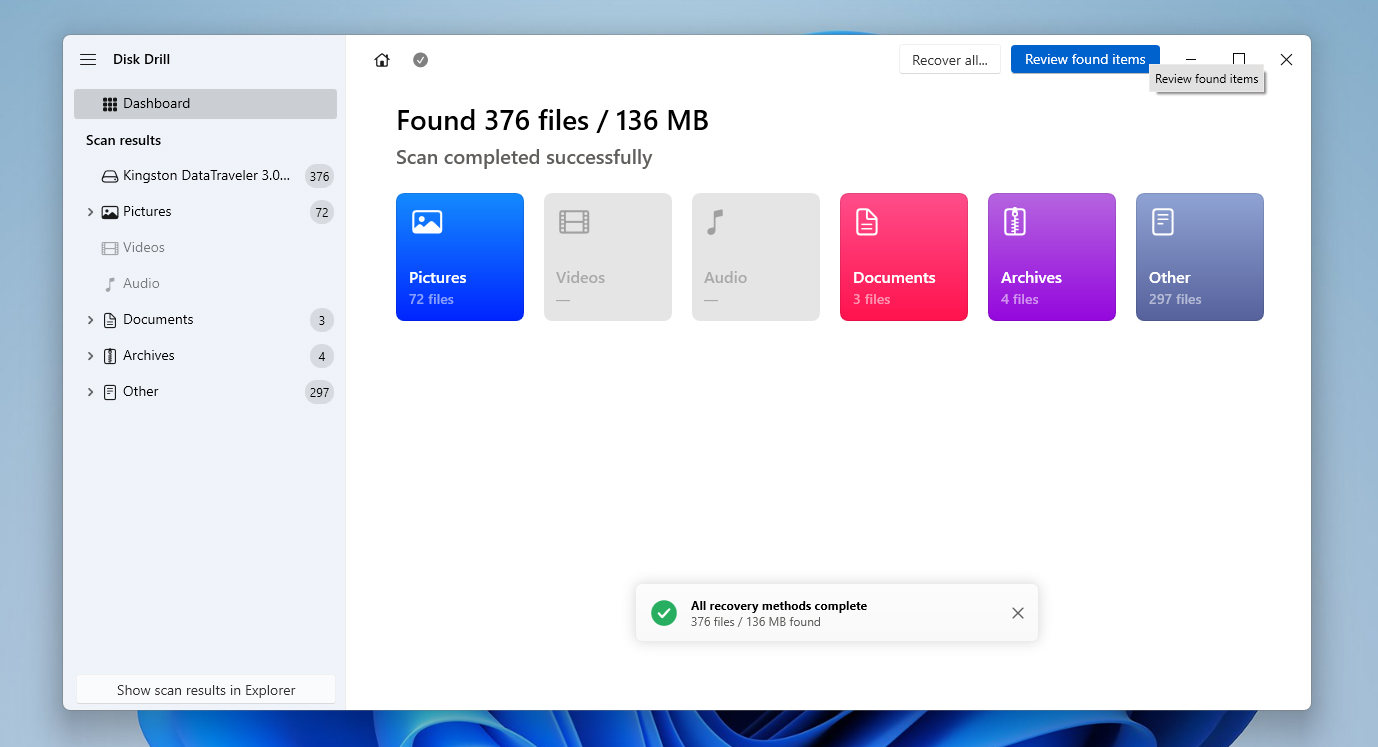
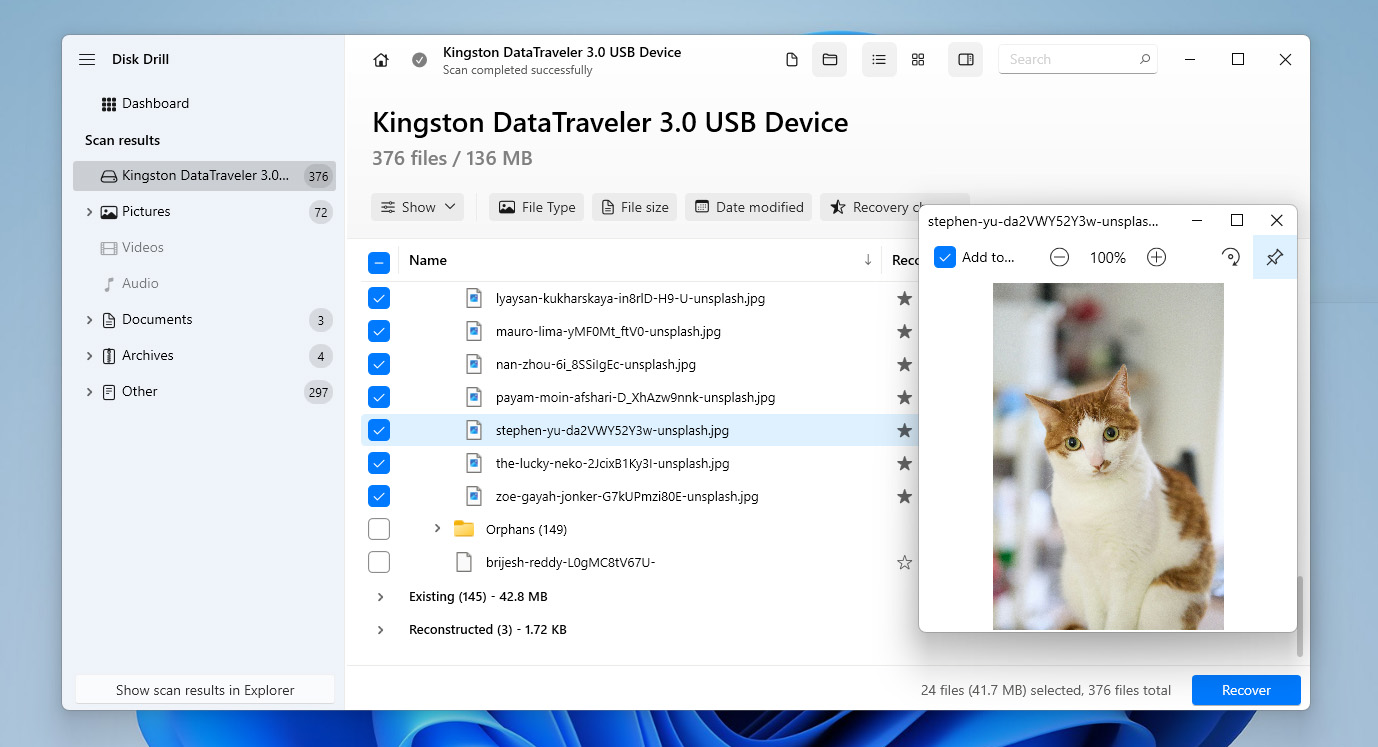
- Disk Drill allows you to start recovery as soon as it begins finding files, but it’s better to wait until the scan finishes. This lets you see the recovery chances for each file (Low, Average, or High), which helps you decide what’s worth restoring.
- When the scan is complete, click Review found items to see everything Disk Drill discovered. Browse through the results and use the filters or the search bar to locate the specific files faster.
- Select the files you want to recover by ticking their checkboxes. When ready, click Recover.
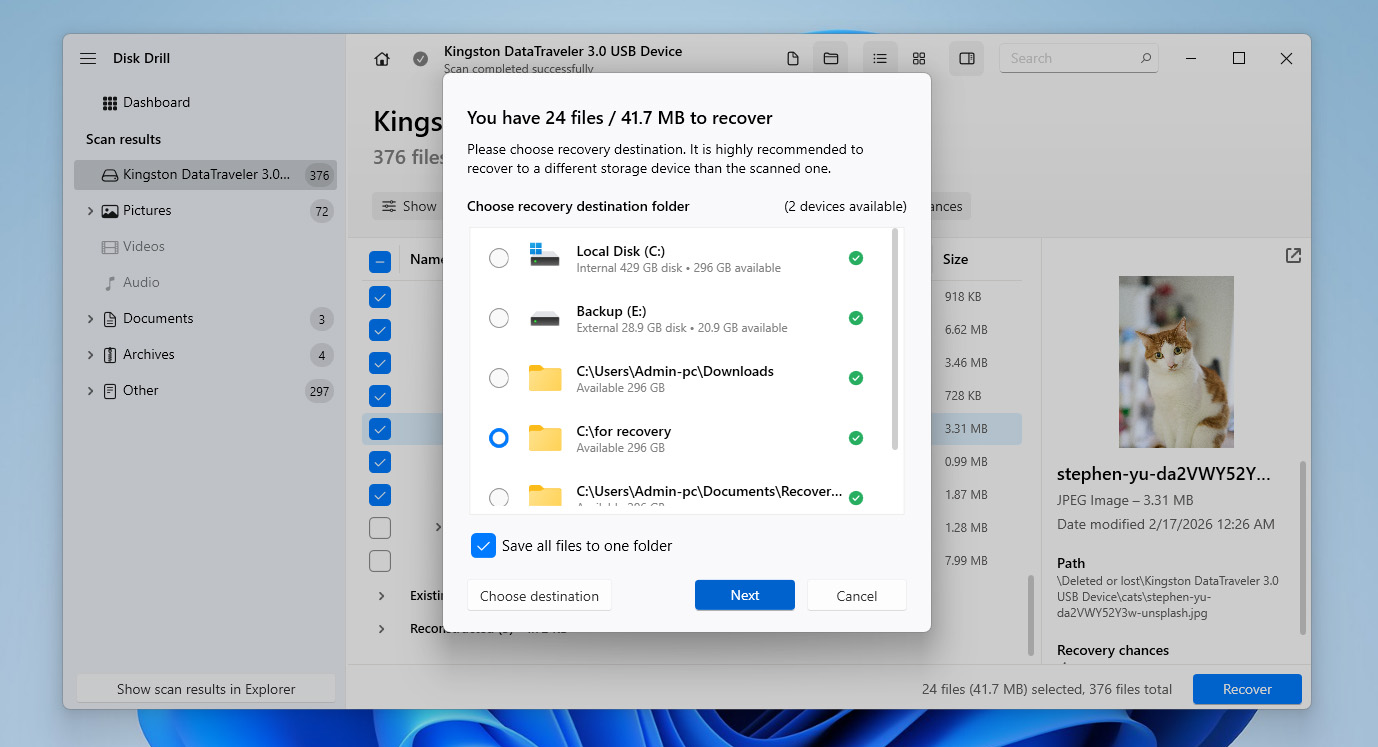
- Choose a recovery location on a different drive from the one you’re recovering the files from. This prevents overwriting other recoverable data. After selecting the location, click Next.
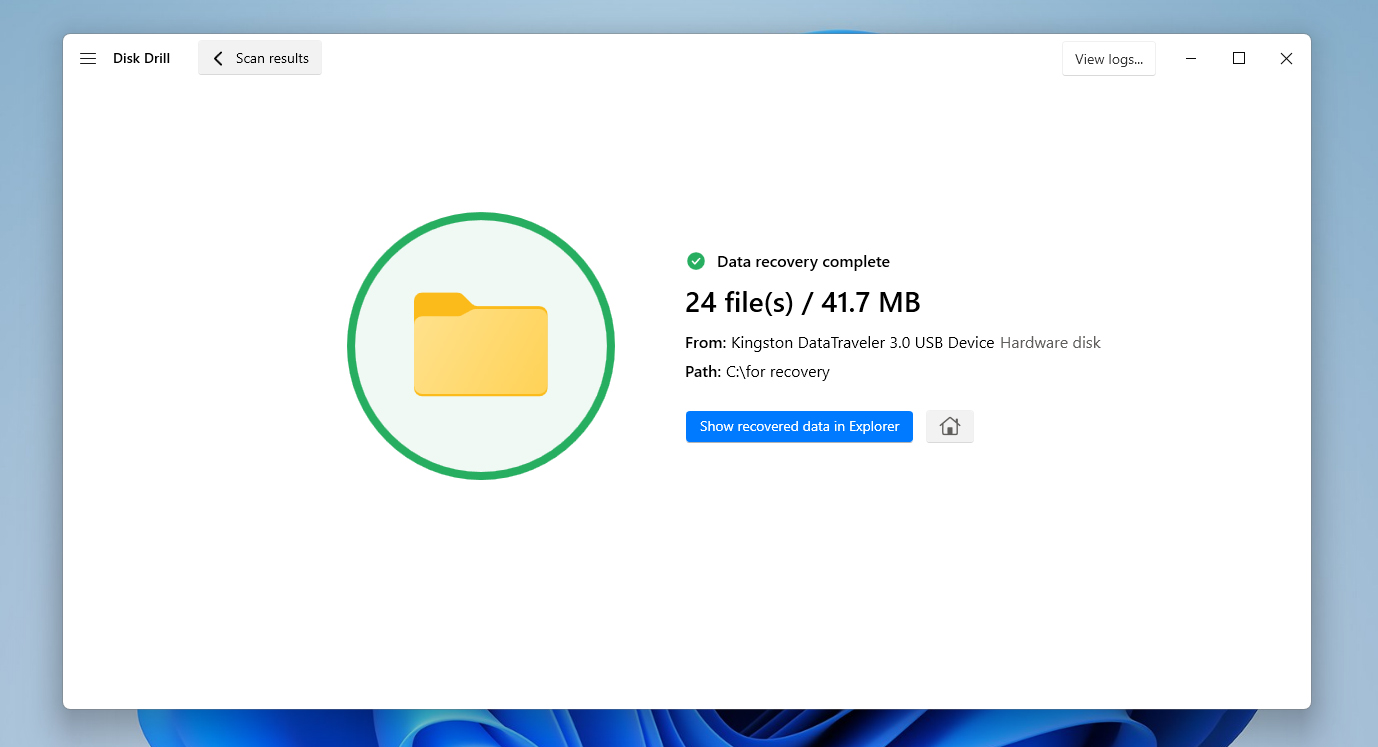
- Once the process finishes, Disk Drill will display a completion screen. From there, you can click Show recovered data in Explorer to open the restored files immediately, or close the program and navigate to the recovery folder yourself.
The free version of Disk Drill for Windows allows you to recover up to 100 MB of data, which is usually enough if only a few files were lost during a cut-and-paste operation. It’s also a good way to test the software and see what files can be recovered before committing to the full version. If you need to restore more data than this limit allows, you’ll need to upgrade to the Pro version to continue the recovery process.
Method 2: Recover Cut Files Using File History
If you want to recover cut and paste files from your computer without using any software, this is possible if you have a backup that contains the lost files. One of the most common backup tools in Windows is File History, which automatically creates backups of folders in your user directory, including Desktop, Documents, Downloads, Music, Pictures, and Videos.
To use File History, Windows must have been configured to store backups on another location, such as an external drive, a secondary internal drive, or a network storage device. Once enabled, File History periodically saves versions of your files in the background, allowing you to restore them if something goes wrong.
File History isn’t enabled by default. If File History wasn’t configured before the file was deleted, this option will not work for you.
- Connect the drive that stores your File History backups.
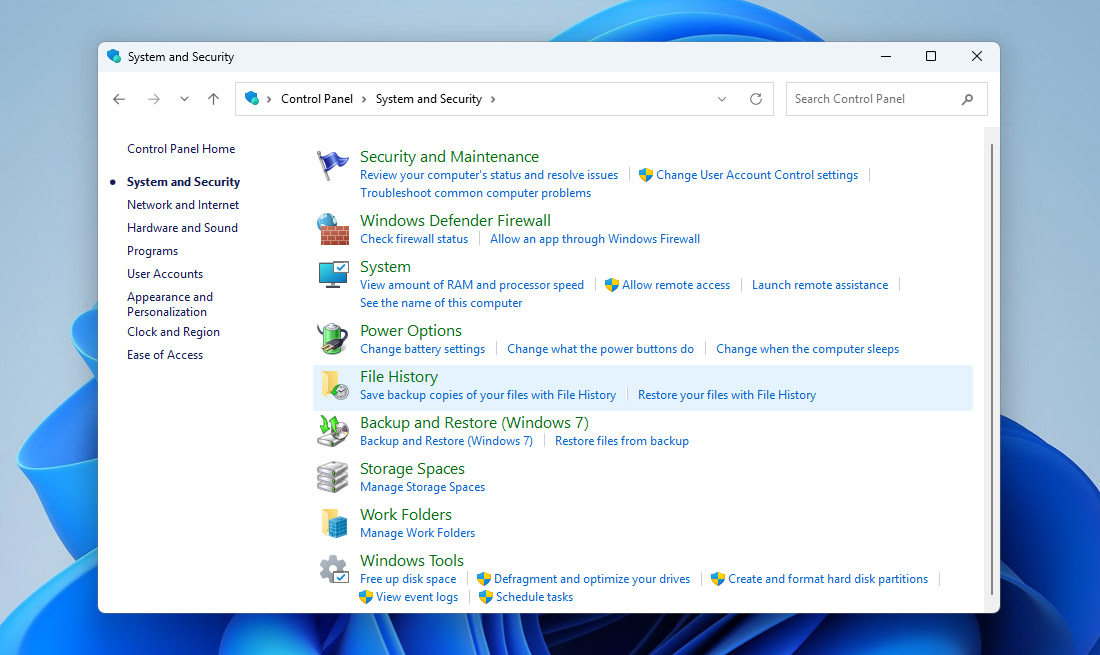
- Open the Control Panel, then go to System and Security and click File History.
- In the File History window, click Restore personal files from the left sidebar.

- Use the left and right arrows at the bottom of the window to browse through different backup versions until you find the folder that previously contained the lost files.
- Locate the file or files you want to restore, select them, and click the green Restore button.
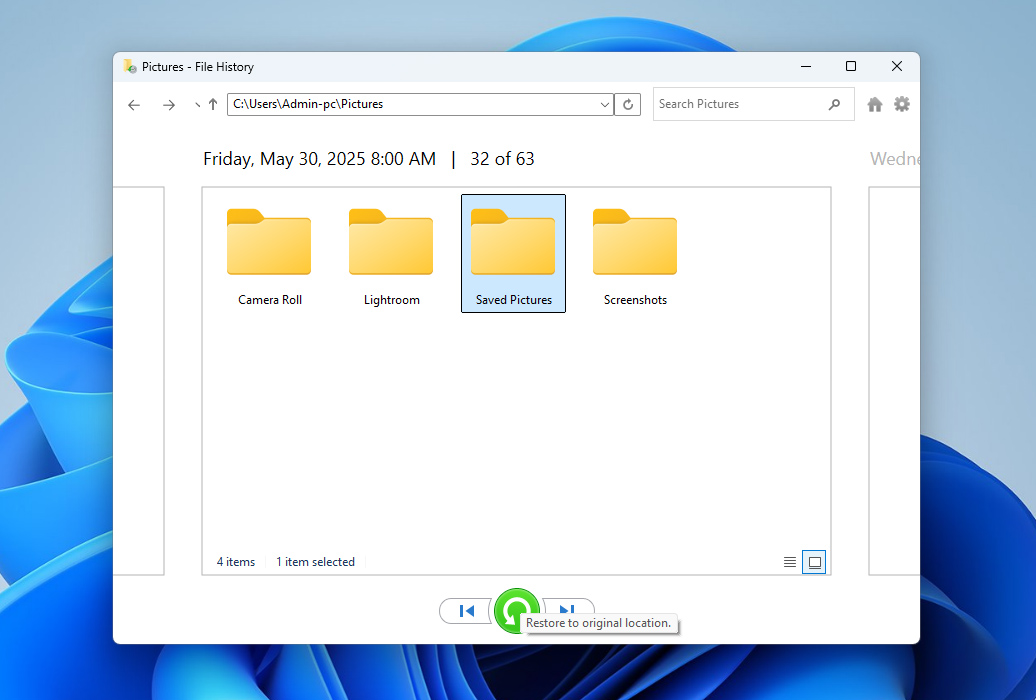
- Windows will restore the files to their original location. If a file with the same name already exists, you’ll be prompted to replace it, skip it, or keep both versions.
If File History is enabled, there’s another way to use it to recover cut files on Windows 10 and 11 by restoring a previous version of the folder where the files were originally stored. To do this, navigate to the folder that contained the files before they were lost, right-click it, and select Properties. Then open the Previous Versions tab. Windows will display available versions of that folder saved by File History. Select a version created before the files were lost and click Restore to return the folder to that state, or Open to review its contents and copy the needed files manually.
Conclusion
Okay, now you know how to recover cut files from your computer. If you skipped straight to this section, here’s a quick summary:
- First, check the original location where the files were stored before the cut operation. If the move process was interrupted, Windows may have automatically returned the files to that folder.
- If the files aren’t there but you have a backup, you can restore them from it using tools like File History or another backup solution that contains the missing data.
- If the files are missing and there’s no backup available, data recovery software like Disk Drill can help scan the drive and recover the lost files before they are overwritten.
To reduce the chances of this happening again, try to be careful when performing cut-and-paste operations. Make sure your computer has enough battery, avoid disconnecting drives during file transfers, and consider keeping regular backups just in case.
If you still have questions, check the FAQ section below. If you don’t find the answer there, we recommend browsing other Windows data recovery guides on our website or visiting our forum, where data recovery experts and other users may help you find a solution.
FAQ:
- Open the folder that contained the file before it was lost.
- Click the Home tab, then click History.
- Use the right and left buttons to find a version of the file you want to restore.
- When ready, click on the file you want to restore, then click the green restore button to complete recovery.


This blog provides excellent tips on recovering files lost during a cut-and-paste operation. I have used Stellar Data Recovery in the past, and it was really helpful in recovering the lost file. It’s also great to see methods for recovering files on Android. Overall, this is this is a very useful guide for anyone dealing with accidental data loss!