 In today’s guide, we’ll show you how to unformat an external hard drive on Windows 10 or 11. Formatting might seem like a dead end, but we assure you, it’s not always that final. A lot of the time, it is way more doable than most people think. We’ll break down how that’s even possible, what actually happens during formatting, and then walk you through the steps to undo it.
Is it Possible to Unformat a Hard Drive?
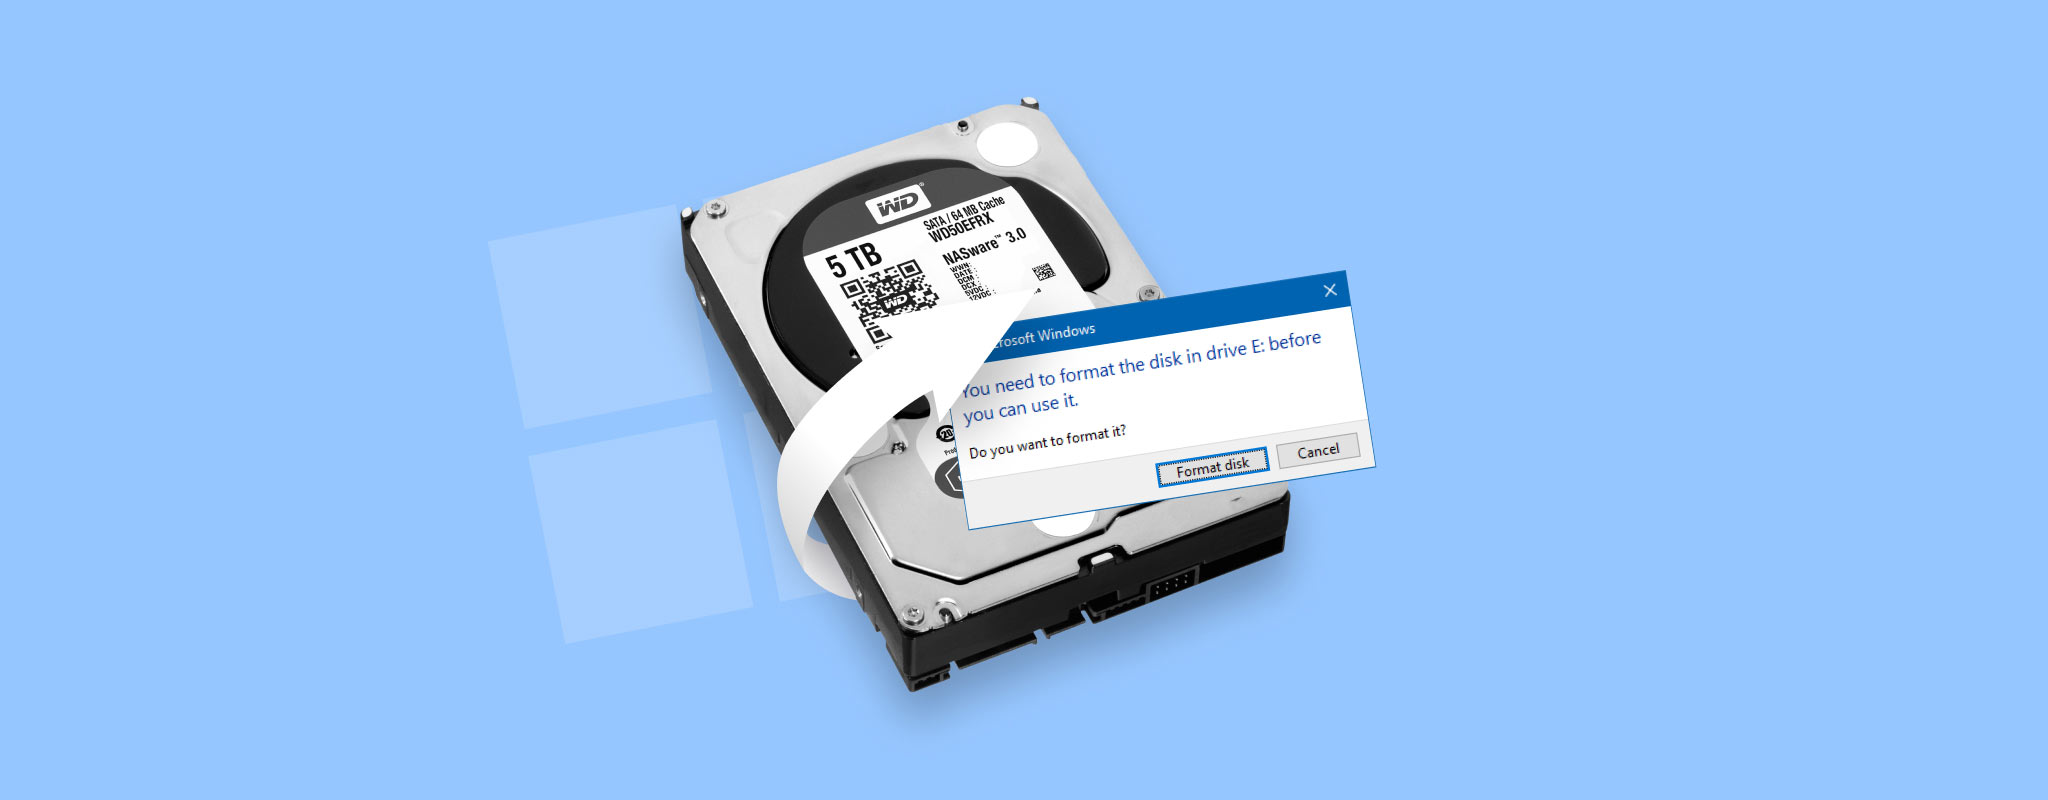
Yes, it’s possible to unformat a hard drive on Windows. While you can’t simply hit “undo” like you would in Word, the data itself often isn’t gone (at least not right away). When you quick format an external drive (which is the default on Windows 10 and 11), the system doesn’t erase your files. It just marks the space as available and resets the file system structure. Your old files are sometimes still there. And that’s where data recovery software steps in. (In the next section, we’ll walk you through how that works and which tool to use.)
However, data recovery isn’t always on the table. There are a few situations where trying to unformat a hard drive won’t work.
- First, if you performed a full format, that’s a tough break. A full format actually overwrites sectors. Once that happens, there’s no data left to find. So, full format is a dead end. On the other hand, if you had the Quick Format option checked (and it’s checked by default), you’ll be able to recover the data from a formatted hard drive using a data recovery solution.
- Then there’s overwriting. After formatting, if you’ve copied a bunch of new files to the drive (movies, documents, backups) some of your old data might’ve been overwritten. There’s no obvious way to tell which files are gone and which ones are still recoverable. It’s kind of a gamble. That’s why it always makes sense to stop using the drive and try a recovery scan as soon as possible.
- Drive type matters too. On a traditional HDD, you’ve got a better chance. If you’re dealing with an SSD, things get trickier. SSDs use TRIM, which clears deleted data automatically to speed up writes. If TRIM ran after you formatted the drive, the files are likely gone for good. But here’s the thing: TRIM doesn’t always run on external SSDs (TRIM support over USB is rare). While a few newer enclosures or Thunderbolt drives might support it, most external SSDs, especially if they’re connected via USB-A or older USB-C cables, won’t trigger TRIM at all.
Another key factor is the file system. If your external drive was formatted in exFAT, TRIM doesn’t activate by default anyway. So yes, even with an SSD, it makes total sense to scan the drive.
💡Interesting fact: Right until Windows 95, you could unformat hard drives using the Command Prompt. Older MS-DOS versions (versions 5.0 to 6.22) had an UNFORMAT for undoing the last format. Unfortunately, the command is not available in modern versions of Windows.
How to Undo a Format on a Hard Drive
The easiest way to undo format on a hard drive is using a data recovery tool. Below, we explain the process of unformatting the hard drive using two popular recovery software programs (Disk Drill and MiniTool Power Data Recovery). Each has its own strengths, which we’ll break down as we go.
Method 1: Unformat Hard Drive Using Disk Drill
Disk Drill is one of the best data recovery tools on the market. It’s especially solid in situations like this – when you need to unformat a hard drive and recover lost files fast. We’ve got a full review if you’re interested in all the details, but here’s a quick rundown of why we picked it for this guide:
- It recovers data from formatted drives with high success rates (NTFS, exFAT, FAT32, and many more)
- The interface is clean and beginner-friendly (no tech background needed)
- It automatically finds lost partitions
- You can preview files before recovery
- It has an extensive file signature library for deep scan: supports photos (JPG, PNG, RAW), videos (MP4, MOV, AVI), documents (DOCX, XLSX, PDF), audio files, and more
- It includes a free version that lets you recover up to 100MB on Windows
But let’s get to the part that actually matters – how to unformat an external hard drive in Windows 10/11 using Disk Drill.
Step 1. Download and Install Disk Drill
Download Disk Drill and install it on your computer.
One important thing here: don’t install it on the drive you’re trying to recover files from. That could overwrite the very data you’re hoping to bring back. We already covered why that’s a risk, but it’s worth repeating. Always install recovery software on a separate internal drive or external one that’s not the target.
If you’re still on an older version of Windows, like 7, 8, or even Vista, Disk Drill has a legacy version available on its website that works just fine for those systems.

Step 2. Scan the Hard Drive
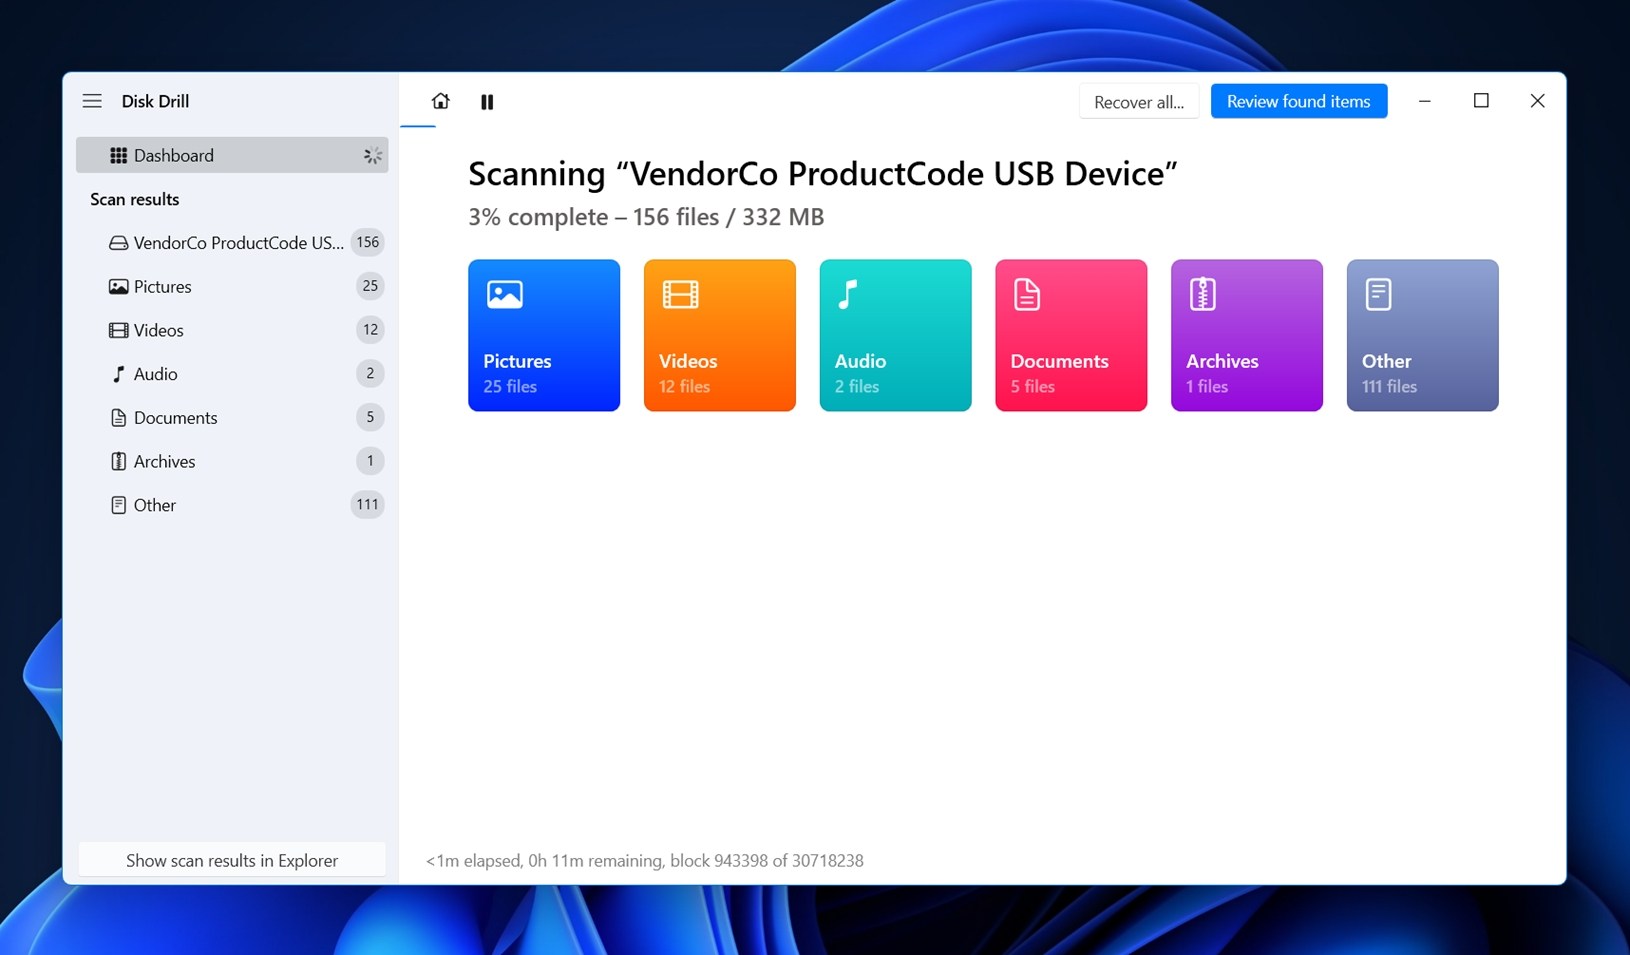
Launch Disk Drill after it has been installed. Since we’re trying to unformat an external hard drive, make sure it’s connected to the computer.
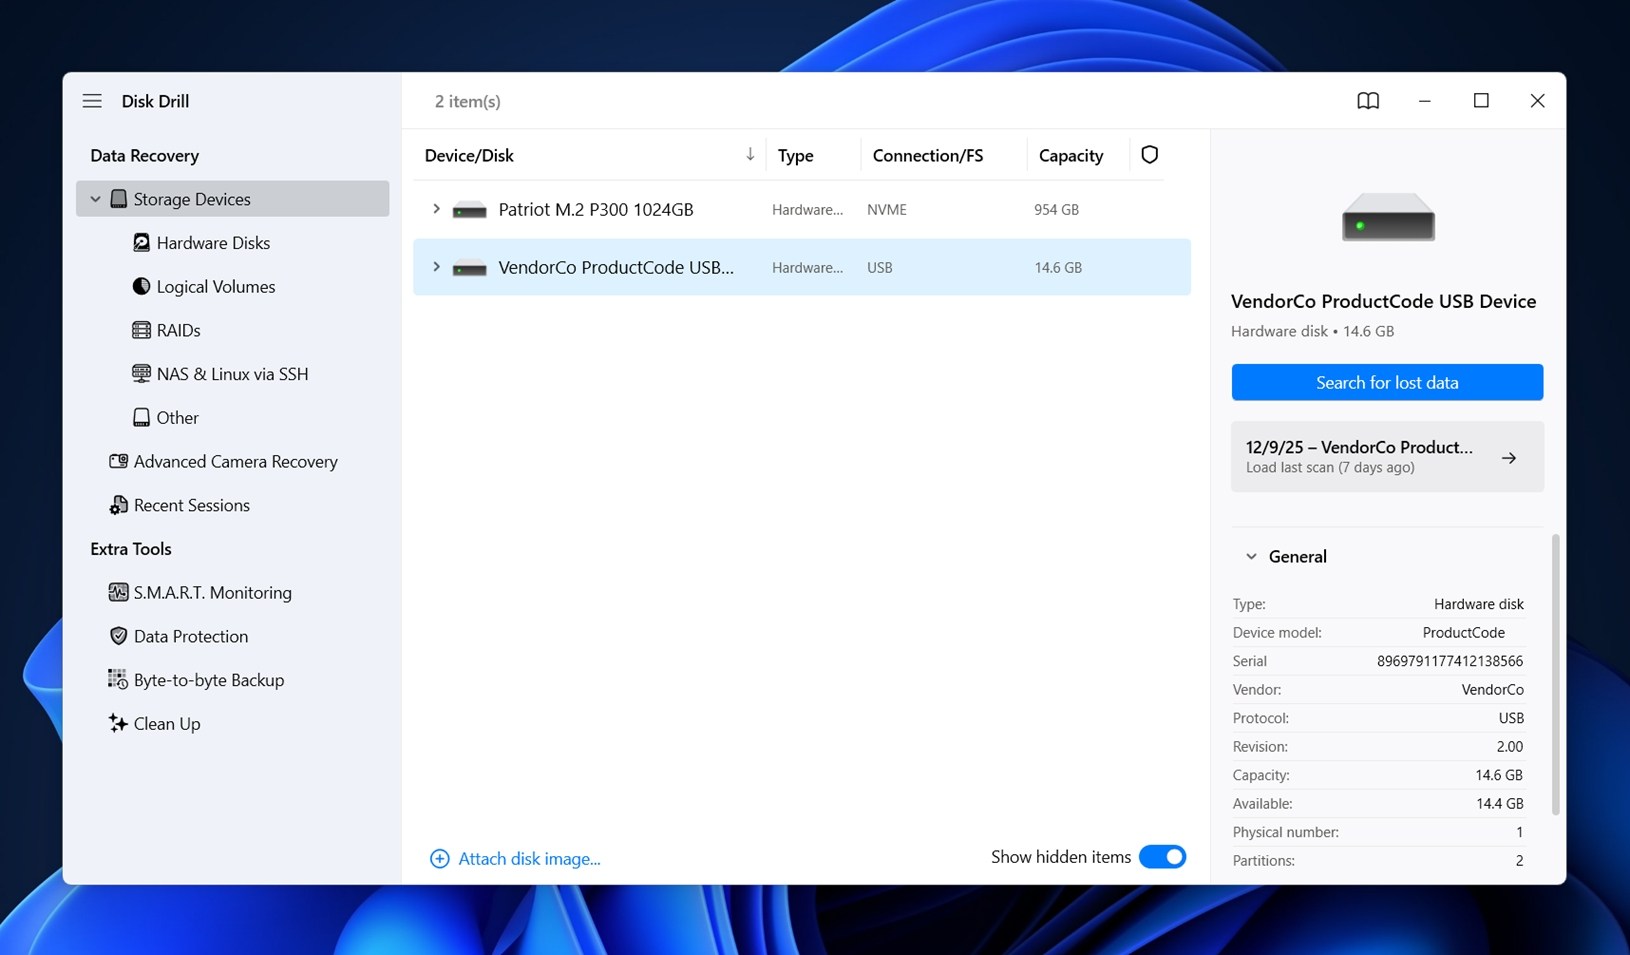
Then, select the hard drive from the list that appears in Disk Drill and click the Search for lost data button.
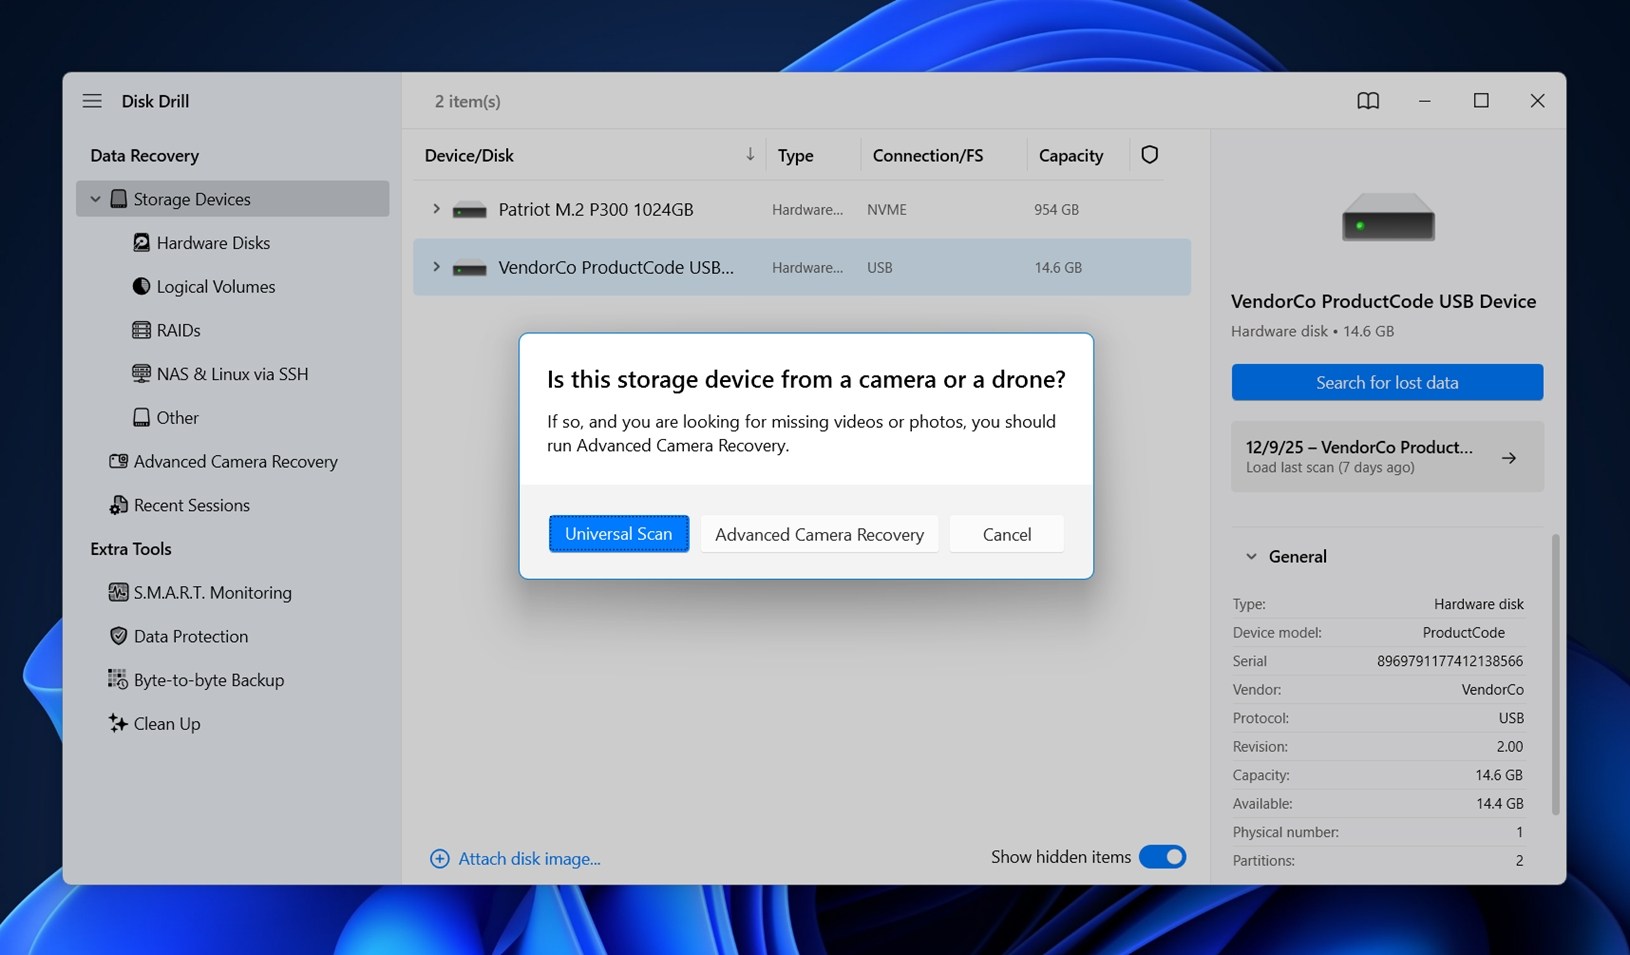
At this point, you’ll get a popup asking you to choose a scan method. Go with Universal Scan. It’s designed to cover everything in one go, and it works great for formatted drives.
Disk Drill can scan drives even after their file systems have changed. For example, if you formatted the hard drive to NTFS from exFAT (or the other way around), Disk Drill will still be able to scan it. In fact, formatting the drive to a different file system is often better for recovery (reformatting to the same one is much more destructive).
Step 3. Review Found Files
Now, you’ve got two ways to move forward:
- First, if you’re the “recover everything and sort it later” type, wait for the scan to finish and hit Recover All. Pick a safe location (not the same drive you’re scanning), and it’ll restore everything it found in one go.
- But if you’re after something specific (like a video project or an important PDF), you don’t have to wait. While the scan is still in progress, you can click Review found items to browse what’s already been uncovered. Jump into the Videos section to check for .MP4s or .MOVs, or open Documents if you’re looking for Word files or spreadsheets. It’s fast, and it saves time when you’re in a rush.
If you know the file names (or you’re after a specific file type) you can use the search bar to narrow things down. Just type in the extension, like .mp4, .jpg, .docx, and it’ll filter the results instantly.
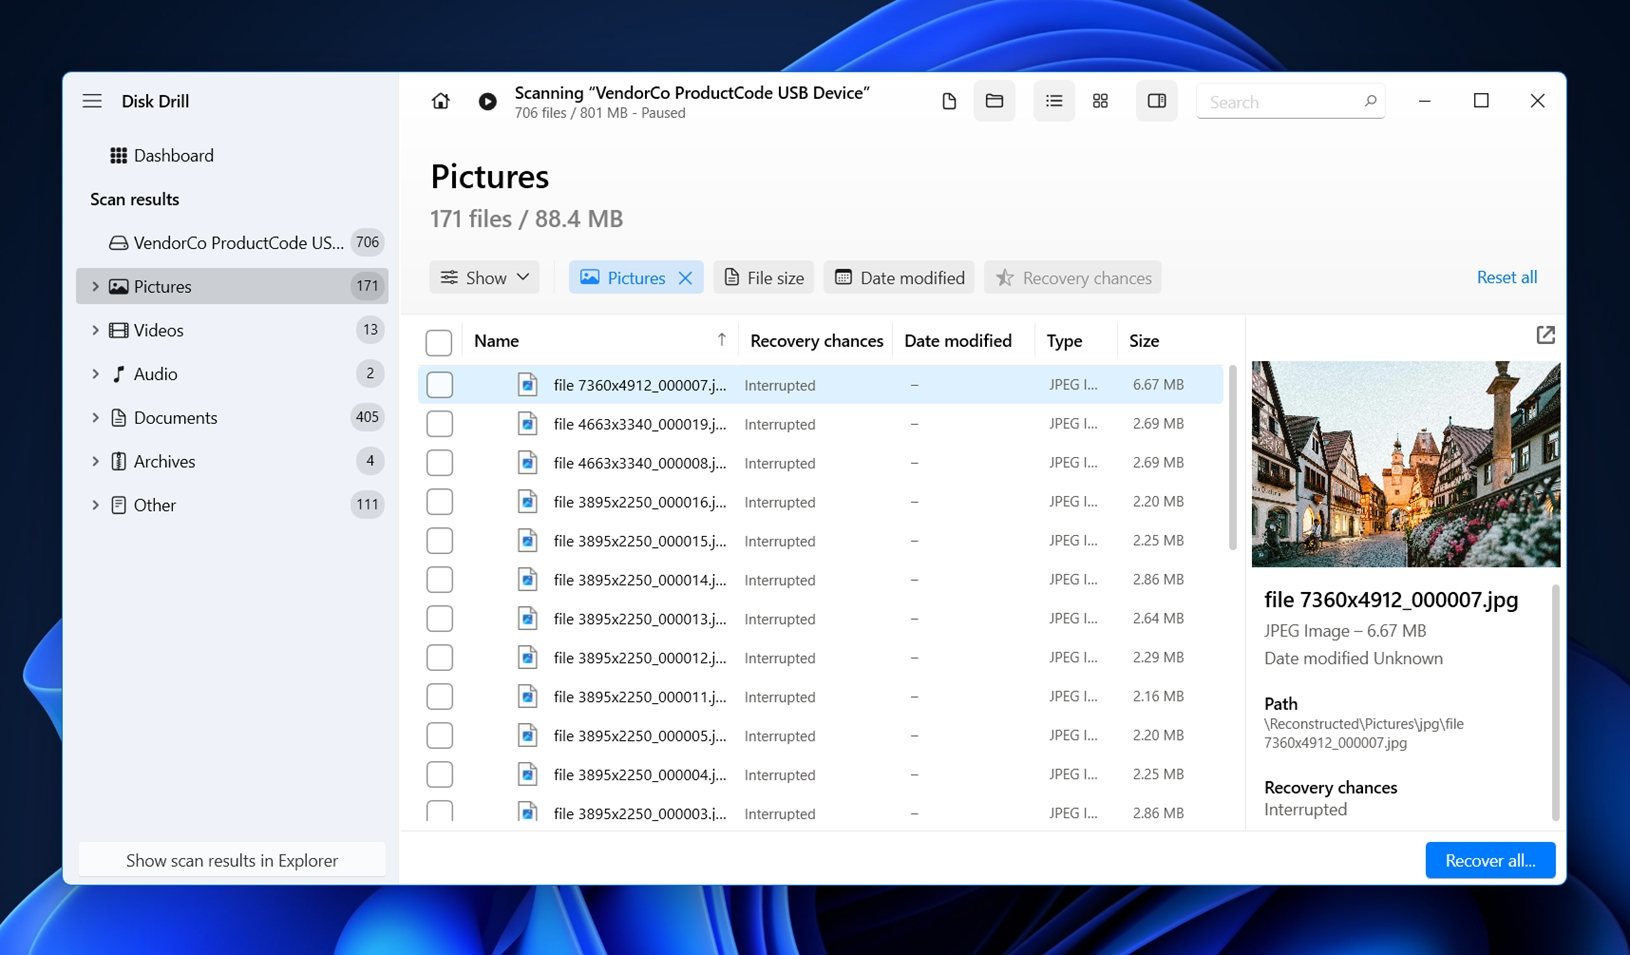
You’ll also see a preview panel on the right for most file types. Super handy when you’re scrolling through dozens of files. If the preview loads, that’s a strong sign the file survived the formatting intact and can be recovered without issues. Makes picking and choosing way easier.
All you need to do now is check the box next to each file you want to recover.
Step 4. Save Files (Unformat the Drive)
When you’re done selecting the files to recover, click the Recover button at the bottom right.
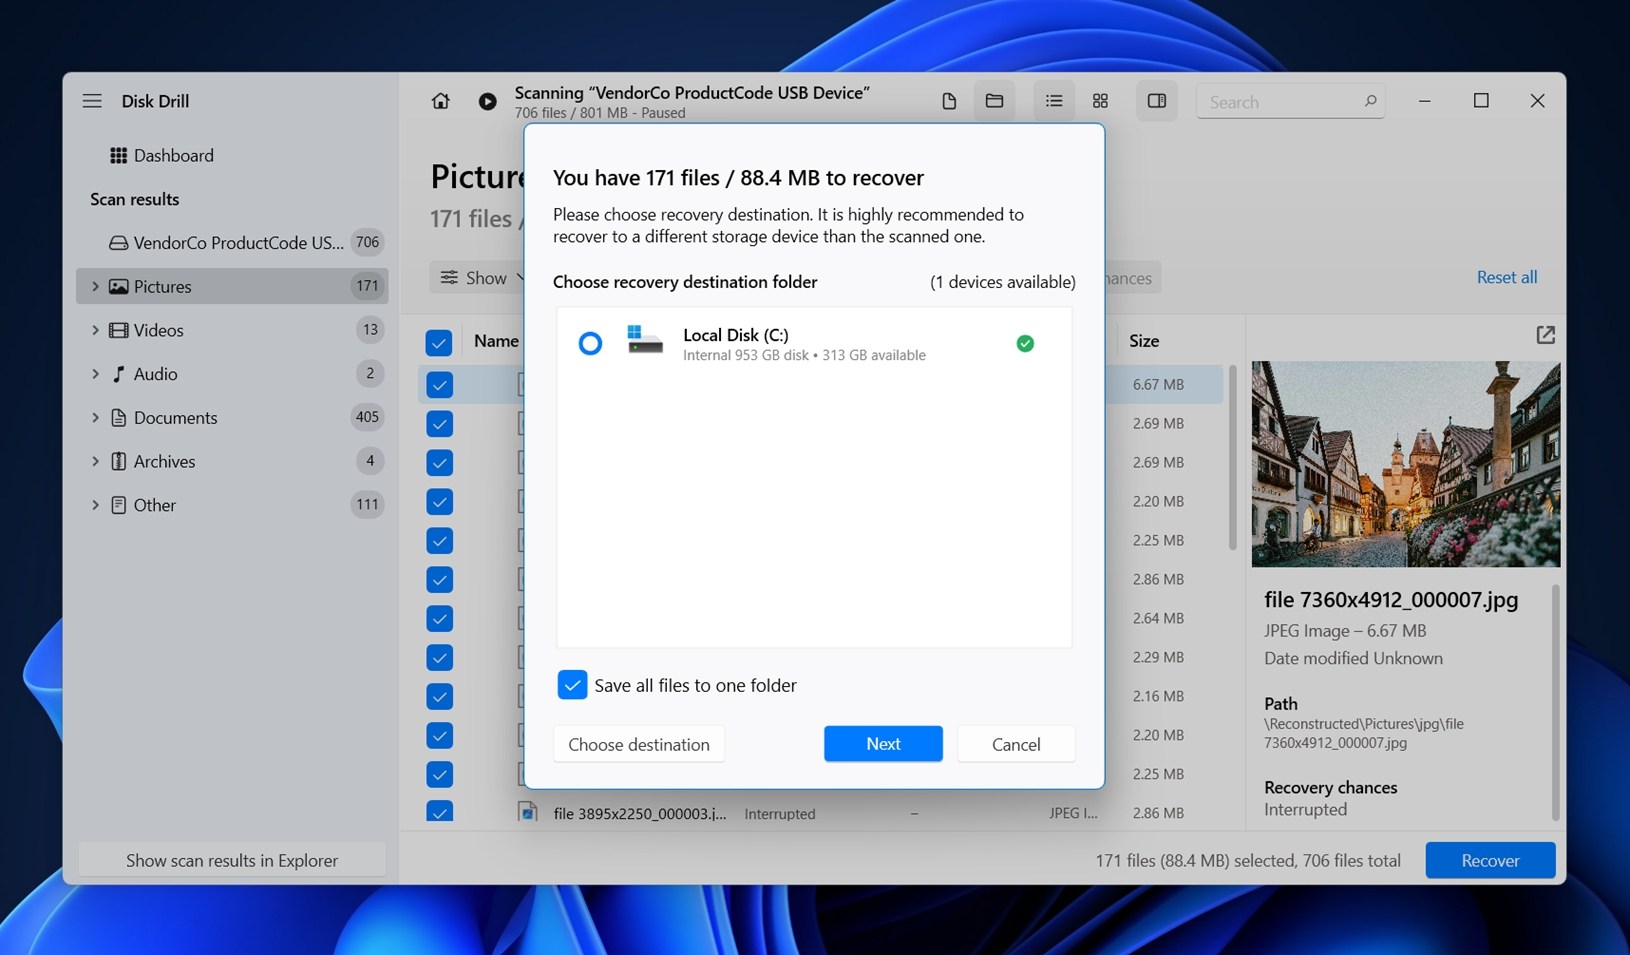
Select a location where you want to recover the files, but make sure you choose a location different from the source location to avoid overwriting.
Click Next after selecting the recovery location. This will start the recovery process. You can then navigate to the recovery location and access the files you recovered. When you’re done, you’ll have successfully unformatted the drive.
🔗Check out our comprehensive Disk Drill review to take a detailed look at its feature set and capabilities.
Method 2: Unformat HDD Using MiniTool Power Data Recovery
MiniTool Power Data Recovery is another recovery solution you can use to unformat a hard drive. While it’s not as capable as Disk Drill in tougher cases, it’s still pretty straightforward, and does have a few strong points that make it worth including in this guide:
- The UI might look a little dated, but the workflow is clean and beginner-friendly
- The free version gives you up to 1 GB of recovery, no sign-up required
- It runs both Quick and Deep Scan modes automatically
- It supports NTFS, FAT32, exFAT, and older HFS+ drives (though no APFS or EXT4)
- You get a bootable media option (with the paid version), useful for dead systems
- It handles everyday formats like DOCX, JPG, MP4, and PDF decently well
Here’s how to unformat a disk with this app:
Step 1. Download and Install MiniTool Power Data Recovery
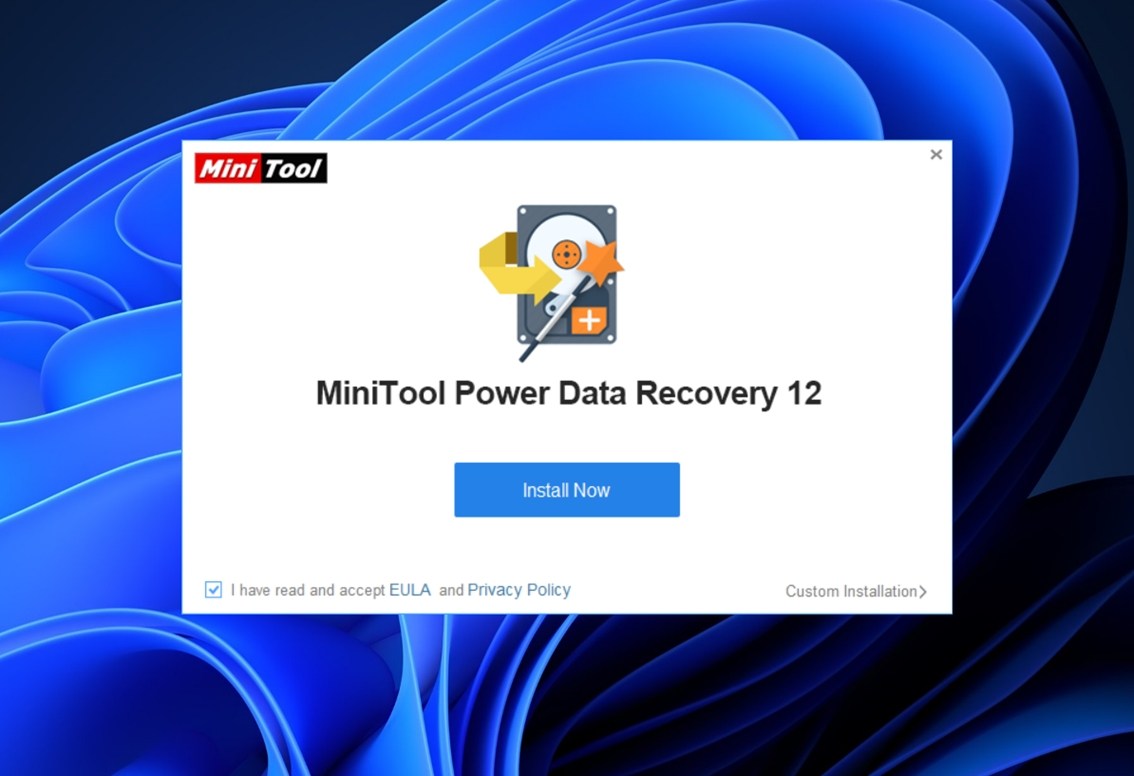
Head over to the official MiniTool Power Data Recovery website and grab the latest version for Windows. The installer’s lightweight and doesn’t try to sneak in extra junk, so setup is quick.
As always, here’s a reminder: don’t install it on the drive you’re trying to recover. Always use a different internal drive or plug in another external one to handle the installation.
Once it’s installed, launch the app.
Step 2. Scan the Hard Drive
You’ll see a screen like the one in the image. At the top, you’ve got two tabs: Logical Drives and Devices.
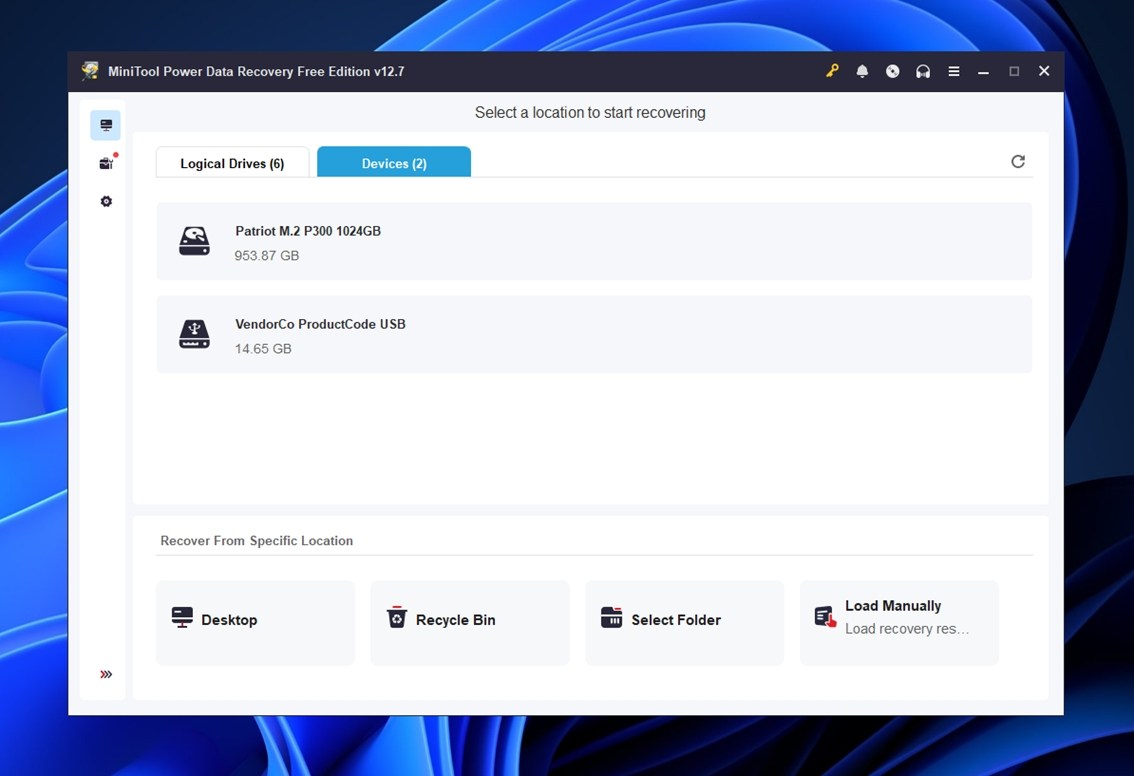
- Logical Drives shows partitions – like C:, D:, or formatted volumes that still register.
- Devices lists the full physical drives, which is often better when you’re dealing with a formatted or unallocated disk.
If your external hard drive shows up in both tabs, you can technically pick either. But in most unformat cases, the “Devices” tab gives you better results, since it scans beyond the active partition layout.
Once you’ve selected your drive, click the Scan button next to it.
Step 3. Review the Scan Results
As the scan progresses, you’ll start seeing results pop up in real time. On the left, you can browse by file type: Documents, Pictures, Audio & Video, and more.
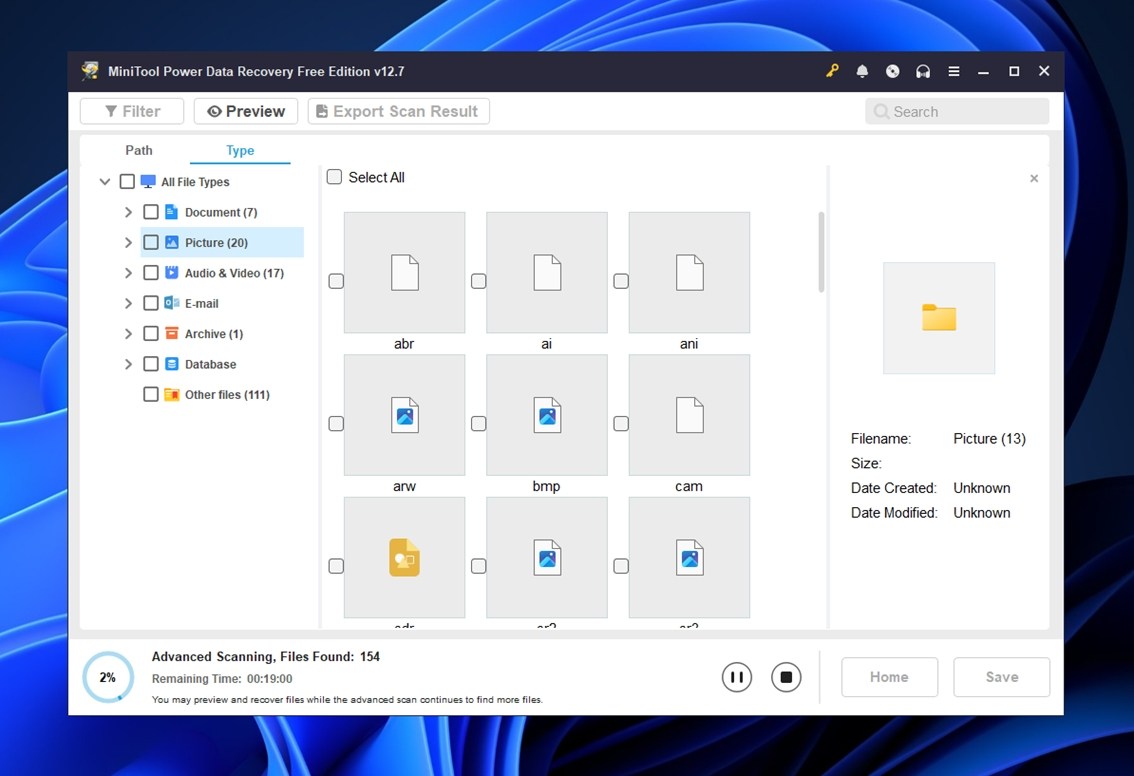
On the right, thumbnails of files will begin to appear, but fair warning, MiniTool isn’t as smooth with previews as Disk Drill. You might need to wait a bit for some previews to load, especially for larger files or less common formats.
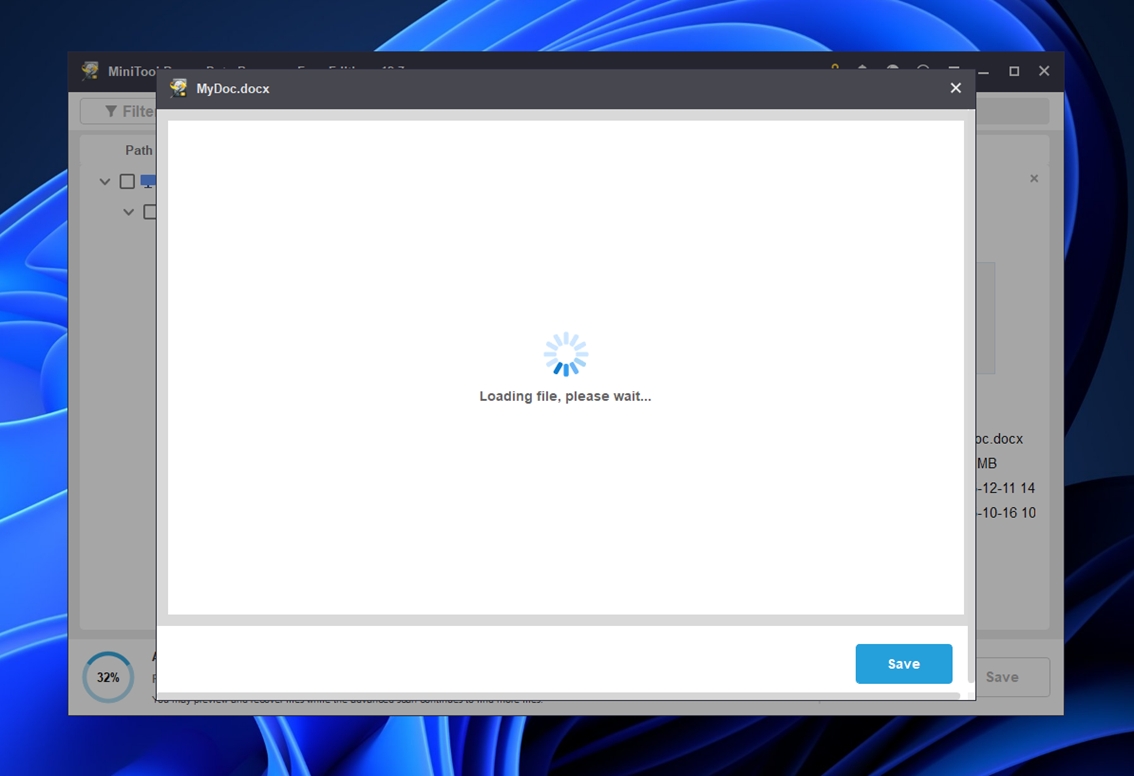
In some cases, it won’t show anything at all until you install a separate preview module. If that happens and you care about seeing file contents before recovering, go ahead and install it (it’s safe and comes straight from MiniTool). It’s definitely not as seamless, but it can still help confirm whether a file is worth saving.
At the bottom, you’ll see scan progress and estimated time left. You don’t have to wait for it to hit 100% – you can begin reviewing and marking files for recovery while it’s still working.
Step 4. Save Files (Unformat the Drive)
Once you’ve selected what to recover, hit the Save button in the lower-right corner. MiniTool will ask where to store your recovered files – this is where you need to pay attention. Always save to a different drive.
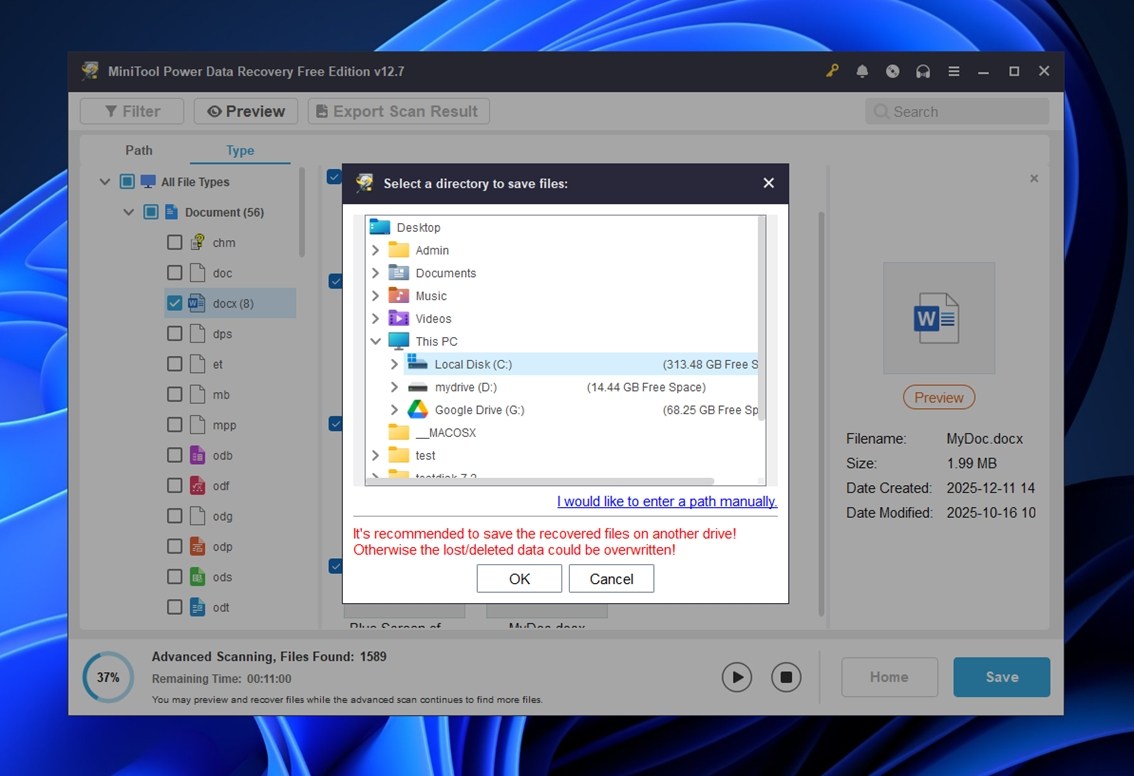
MiniTool even gives you a warning (like you see in the screenshot above). If you try to save files back onto the same external hard drive that was formatted, you risk overwriting more data and ruining your recovery chances.
Choose a separate location with plenty of free space – an internal SSD, another external drive, or even cloud storage if you’re low on options.
Click OK, and the recovery process will begin.
Once it wraps up and you’ve confirmed that your files are safe and usable, you can go ahead and copy everything back to the original drive if you still plan to use it.
If some files didn’t come back don’t give up yet. Try the previous method using Disk Drill. Like we said earlier, it’s in a higher category when it comes to unformatting tools. It often finds stuff MiniTool misses, especially with larger media files or RAW formats. It’s worth the extra step.
What If I Need to Unformat My Internal Drive?
It depends on which internal drive we’re talking about.
If it’s a non-system internal drive (like a second HDD or SSD you use for storage), you can follow the exact same steps we’ve covered here. Nothing changes. It’s basically the same as recovering from an external drive. Install the recovery app somewhere else (not on the formatted drive), run the scan, recover the files, save them to another disk.
But if you formatted your system drive (the one with Windows on it) that’s a different story. Once it’s formatted, you can’t boot into Windows, which also means you can’t launch any recovery software from that environment.
In that case, you’ve got two options:
- Boot from another device. You’ll need to create a bootable USB with recovery software. Boot from that stick, then scan your internal drive from the temporary environment.
- Remove the drive and connect it externally. If you’re comfortable with hardware, you can pull the drive out of your system and plug it into another computer using a USB-to-SATA adapter or docking station. Then run recovery from that machine, like you would with any external drive.
Either method works. It just depends on what gear you have and how comfortable you are doing it. But don’t try to reinstall Windows and then scan from that same drive. That’s a surefire way to overwrite what’s left of your old files.
If you’ve got more questions about how to unformat a hard drive, check the FAQ section below first – we’ve covered a lot of common situations there. Still stuck? Feel free to drop a comment under this page and we’ll get back to you.


")
